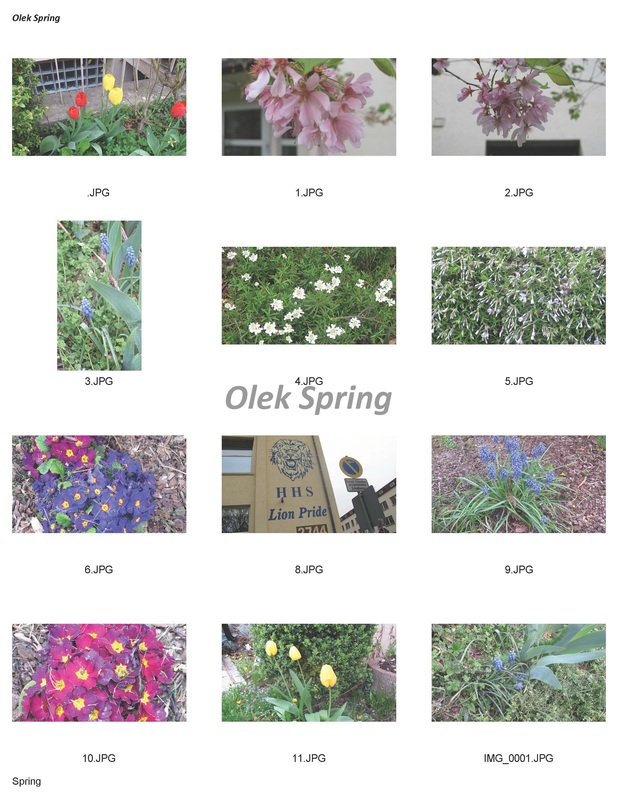
Spring Contact Sheet
Spring Poster

Depth of Field
F 5.0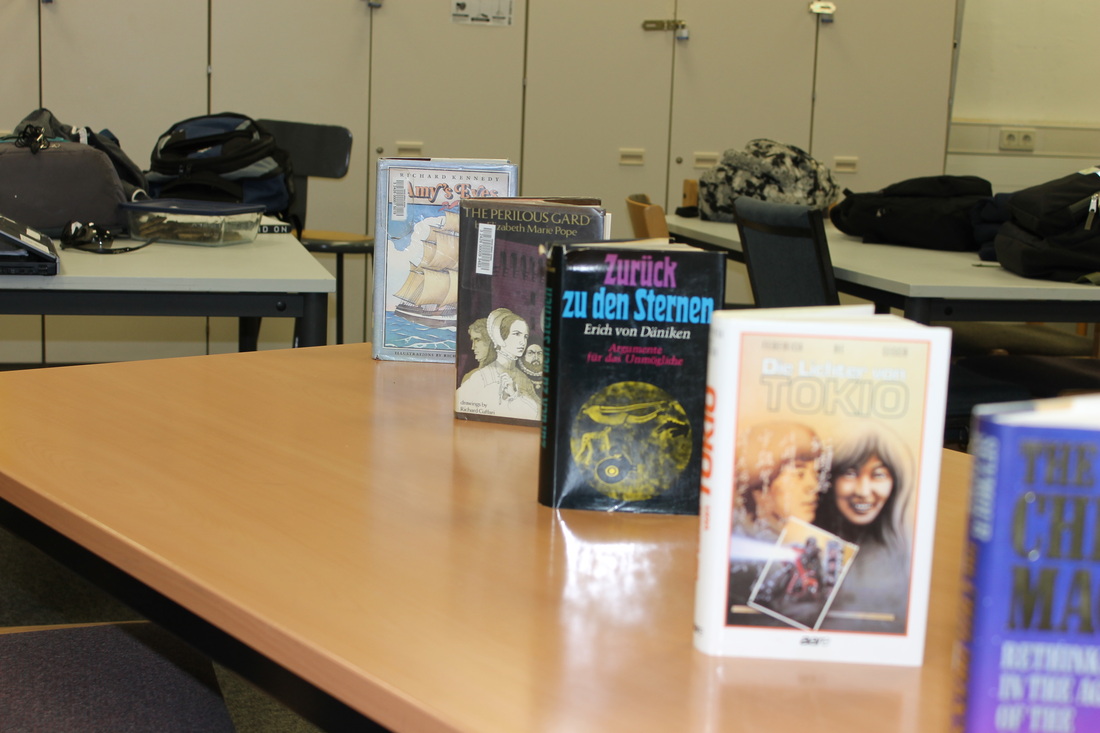
F 6.3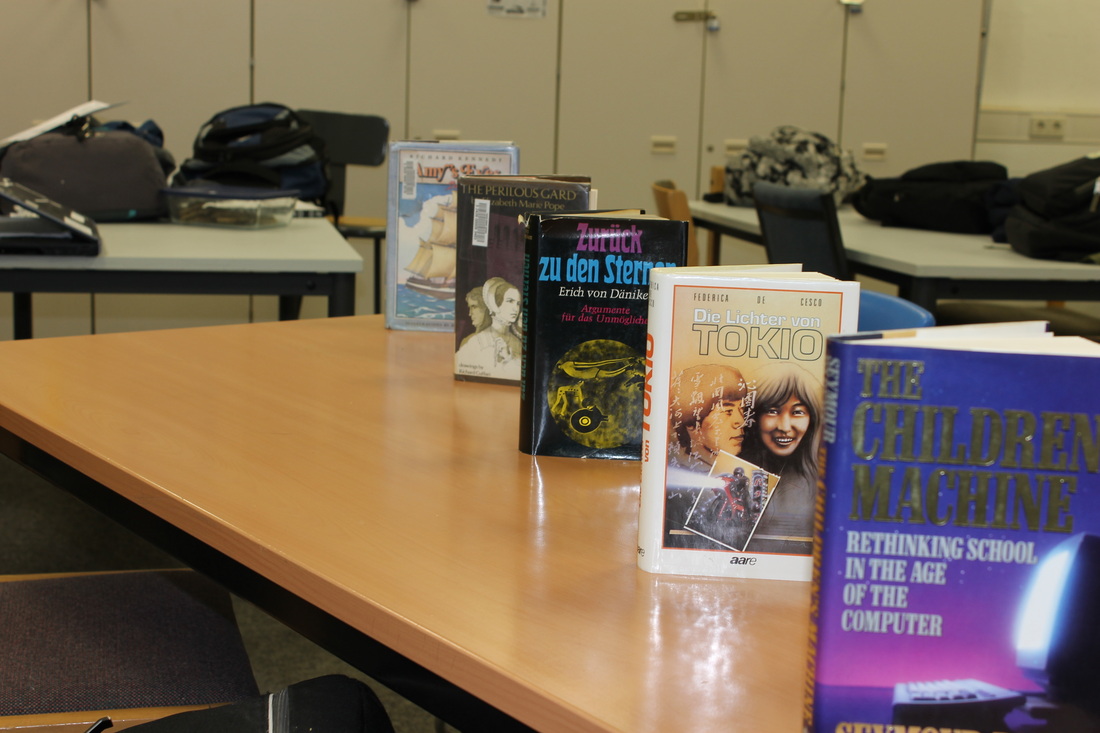
F 8.0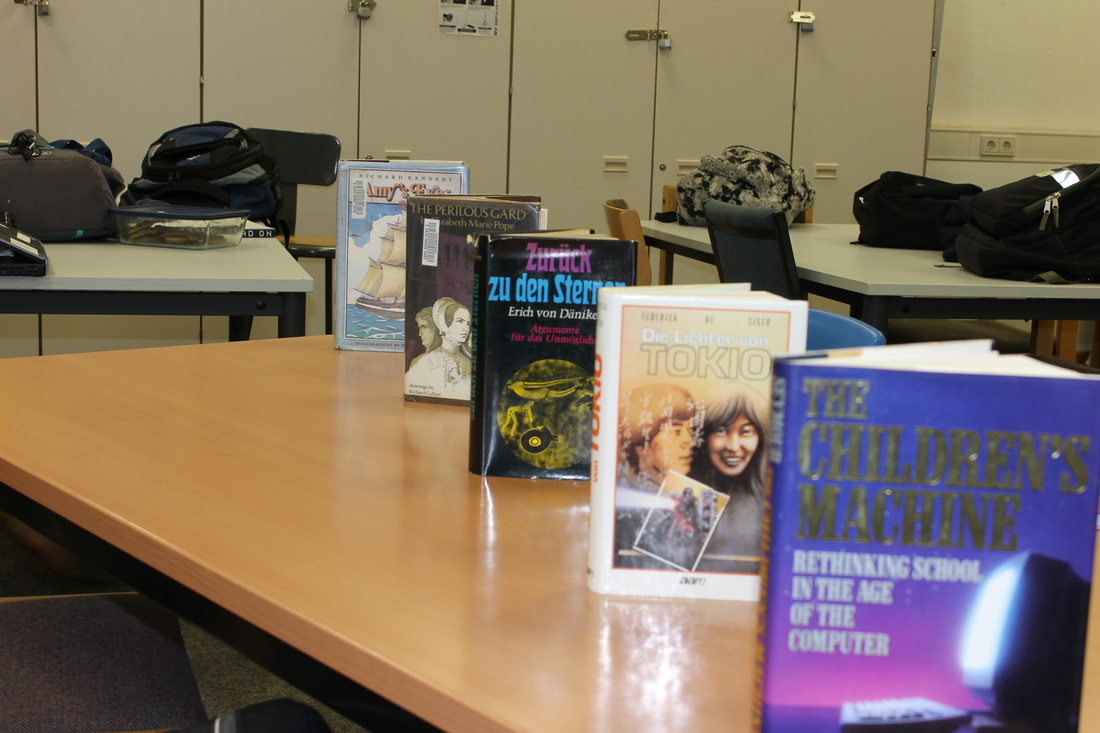
|
F 10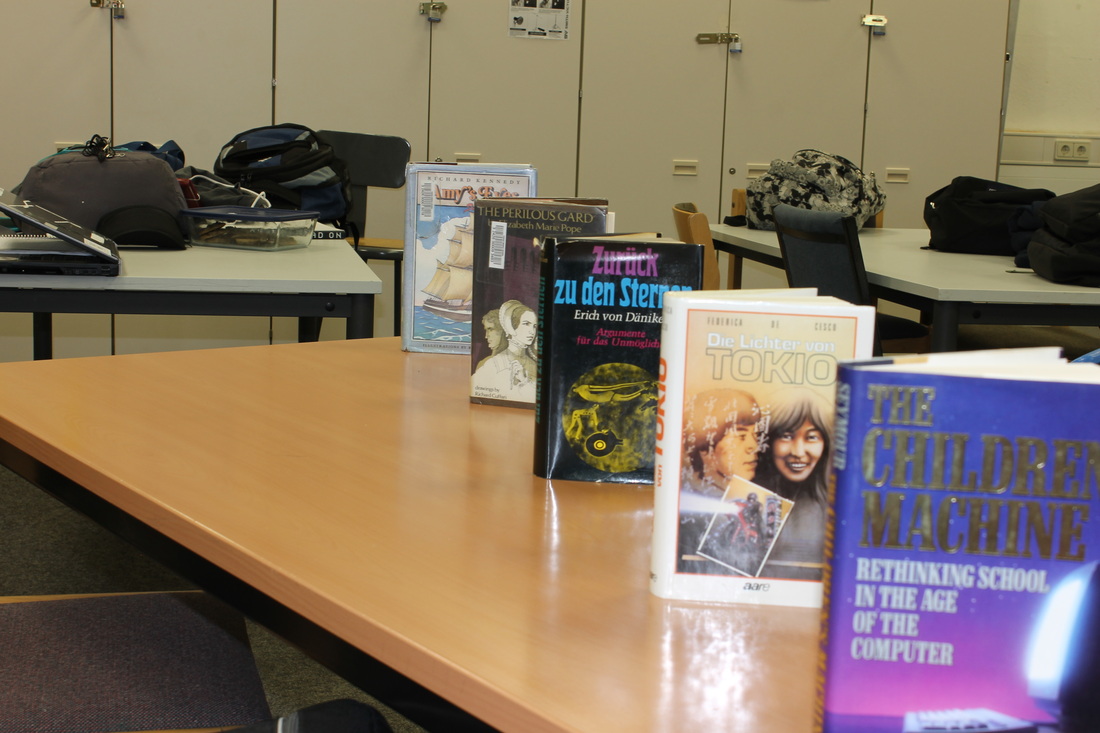
F 13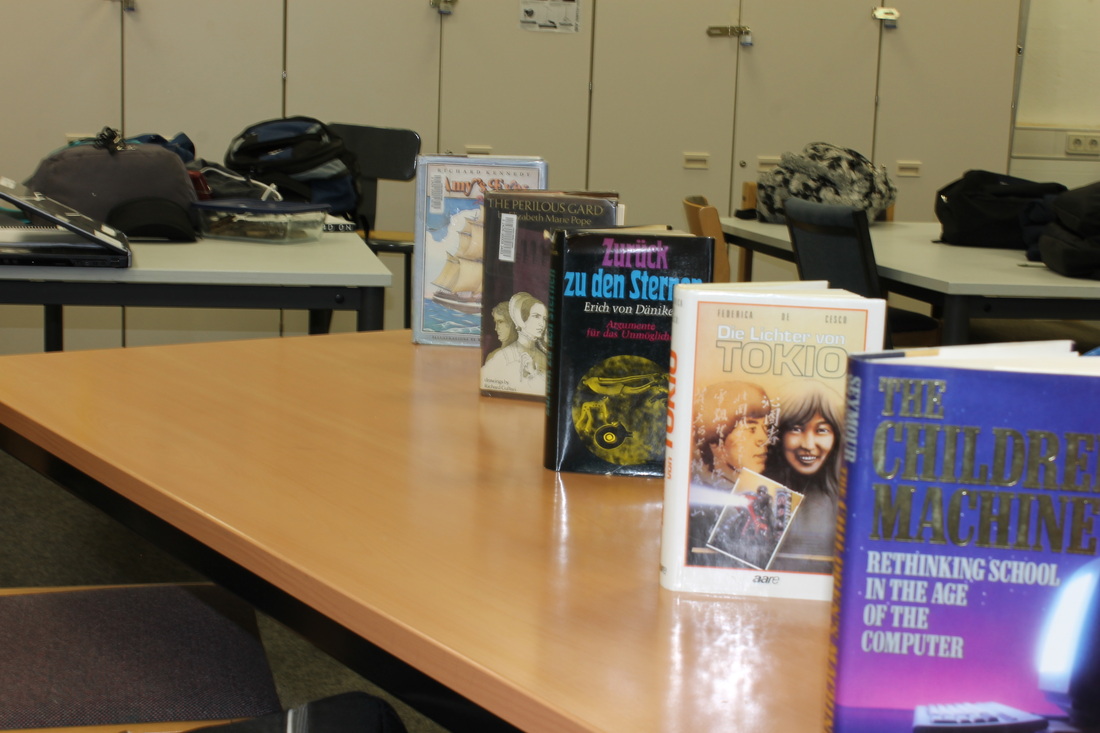
F 16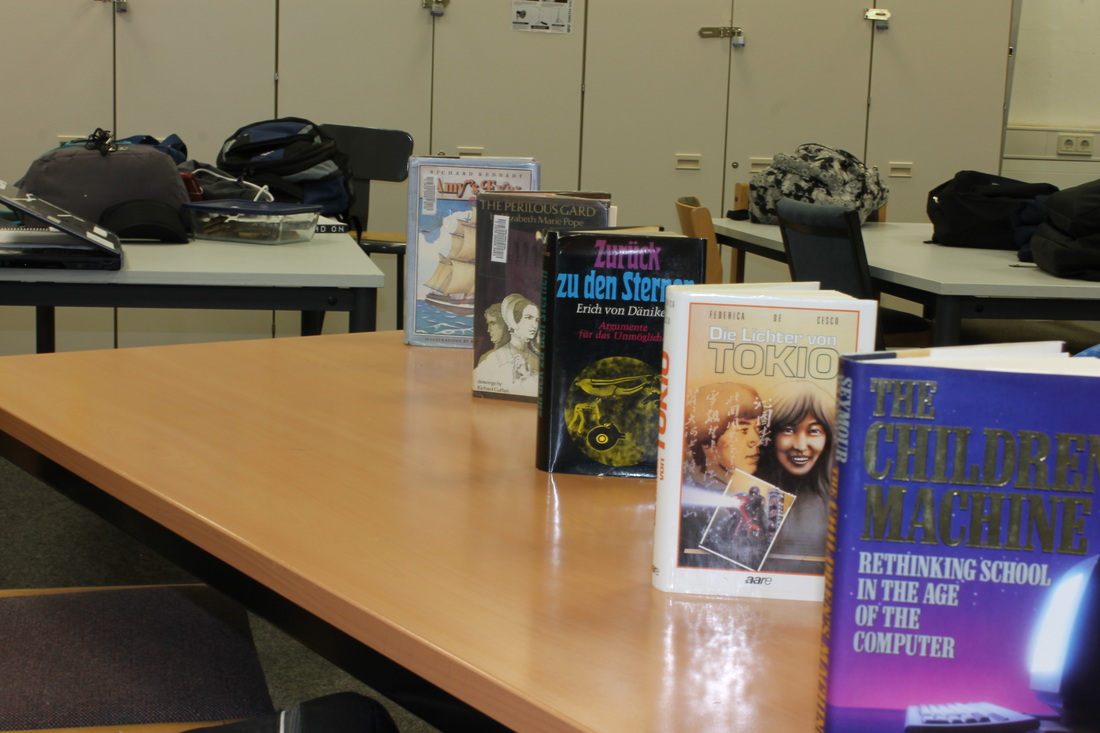
|
During this shoot I changed the f-stop or focal stop setting on the camera to change the composition of the photograph. Changing the f-stop settings changes the aperture of each photo. I focused on the black book in the middle for each photo. By focusing on the black book I w as able to change the area of focus. The outer edges of the photograph became more blurry when the lower aperture setting was used.
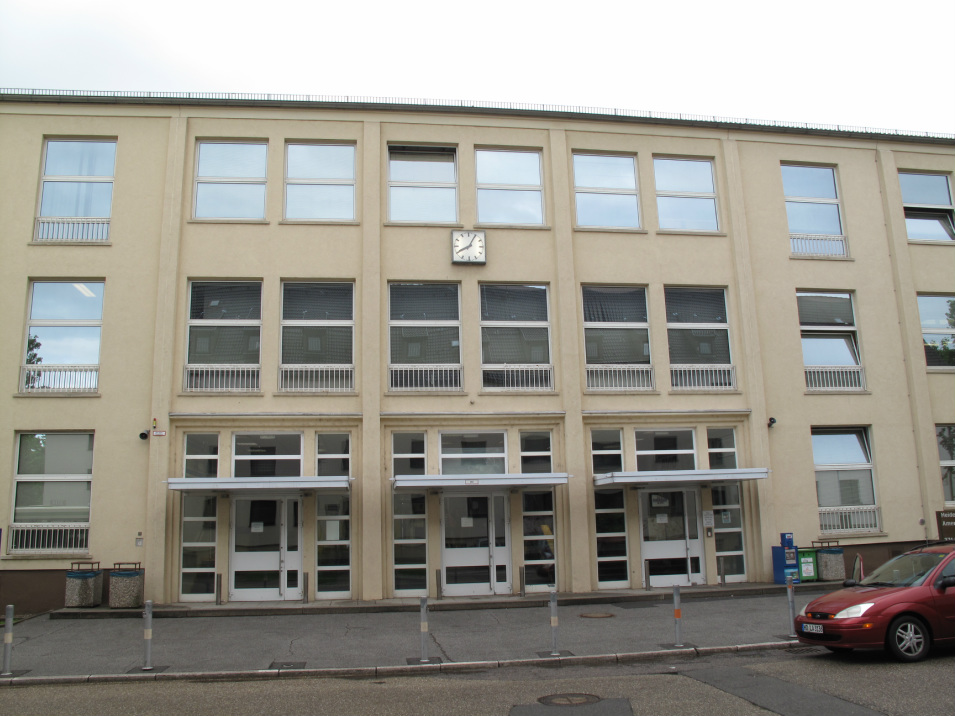
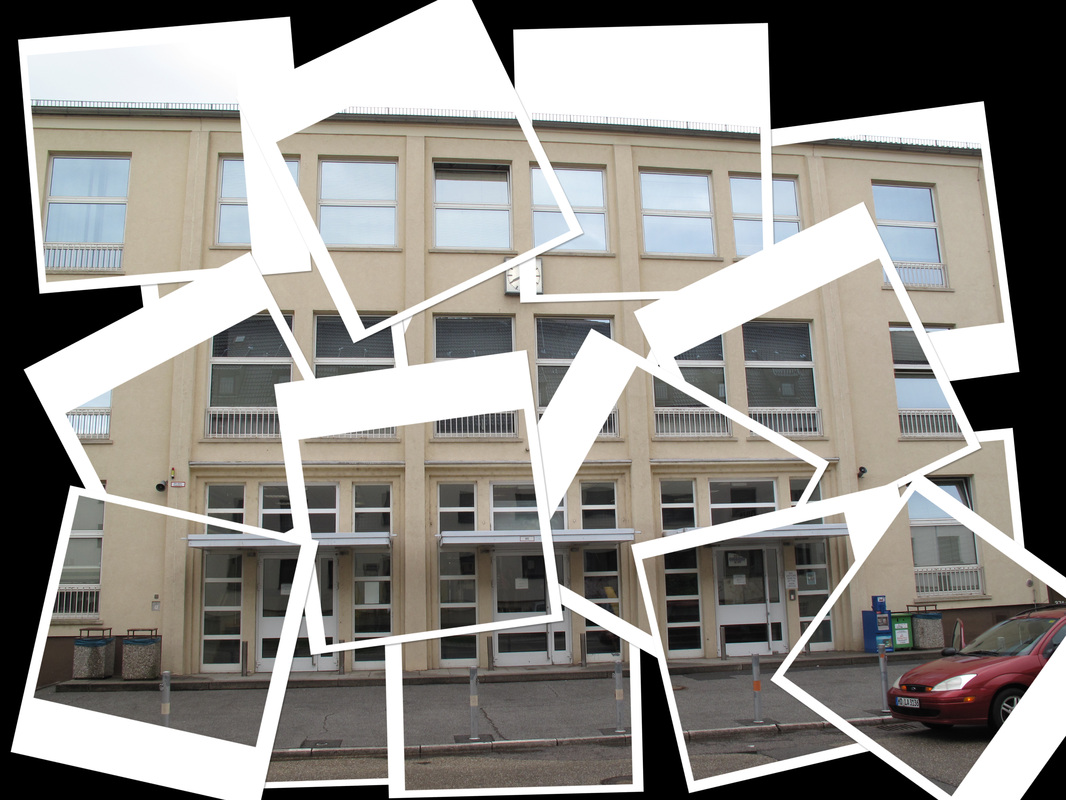
Photomerge
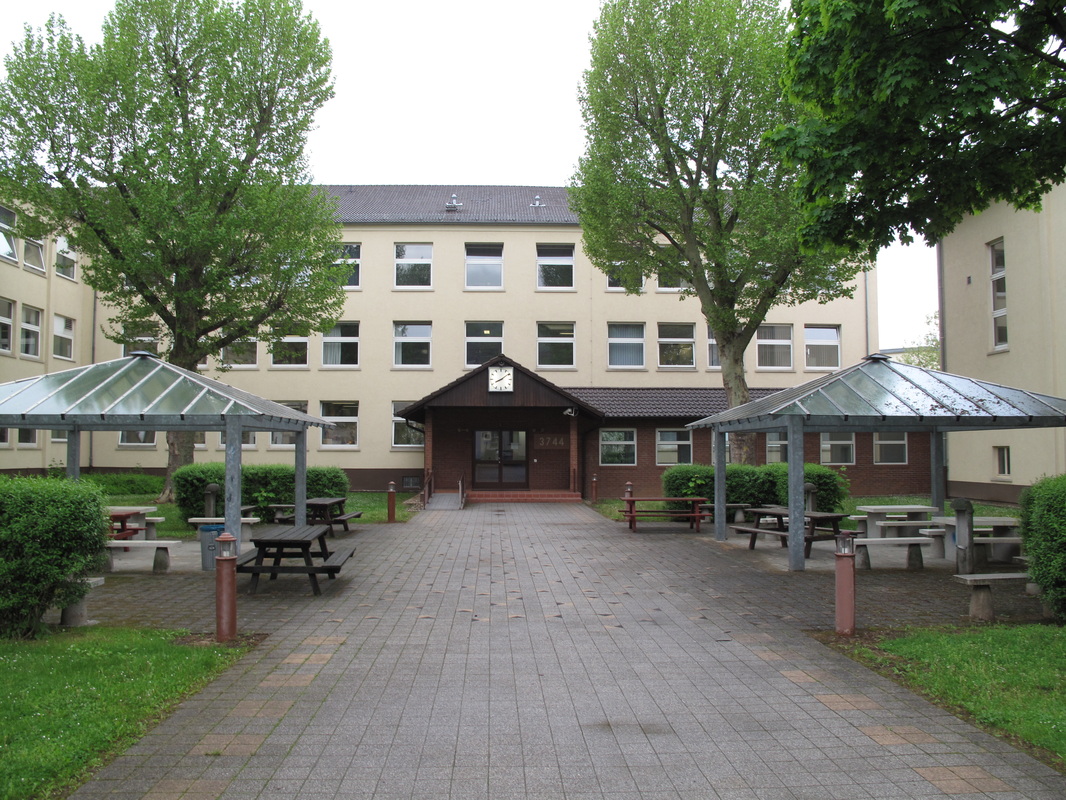
Original Photographs
|
|
|
|
|
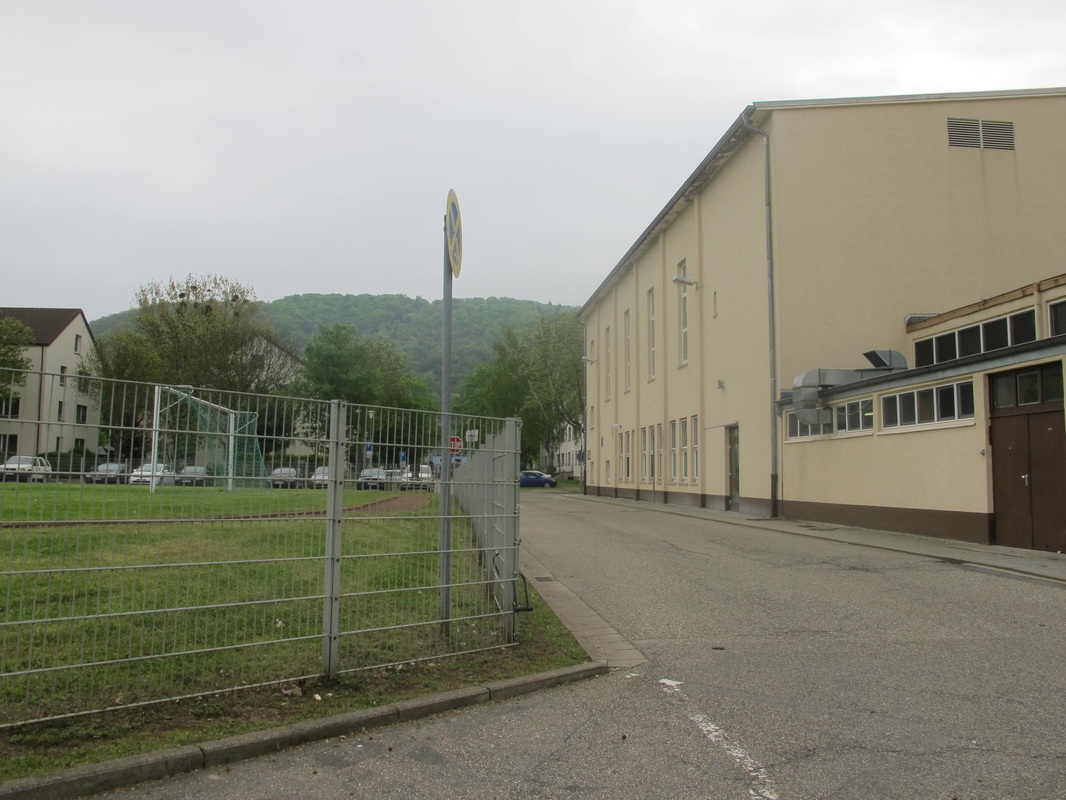
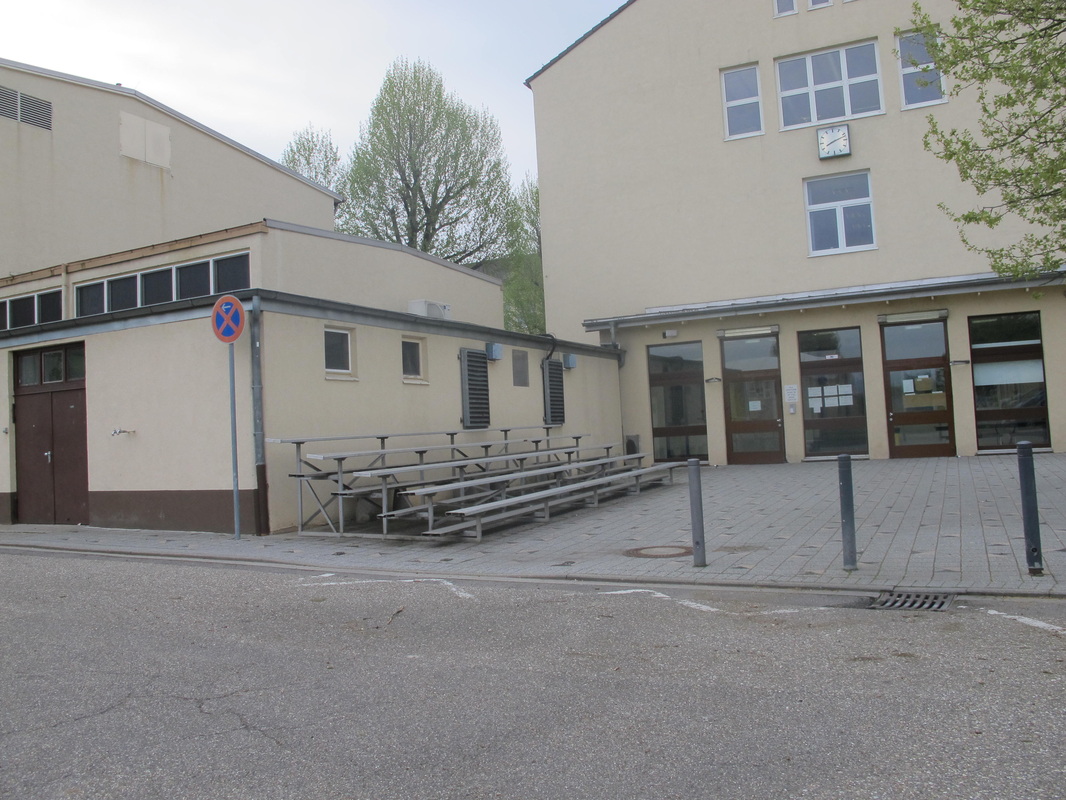
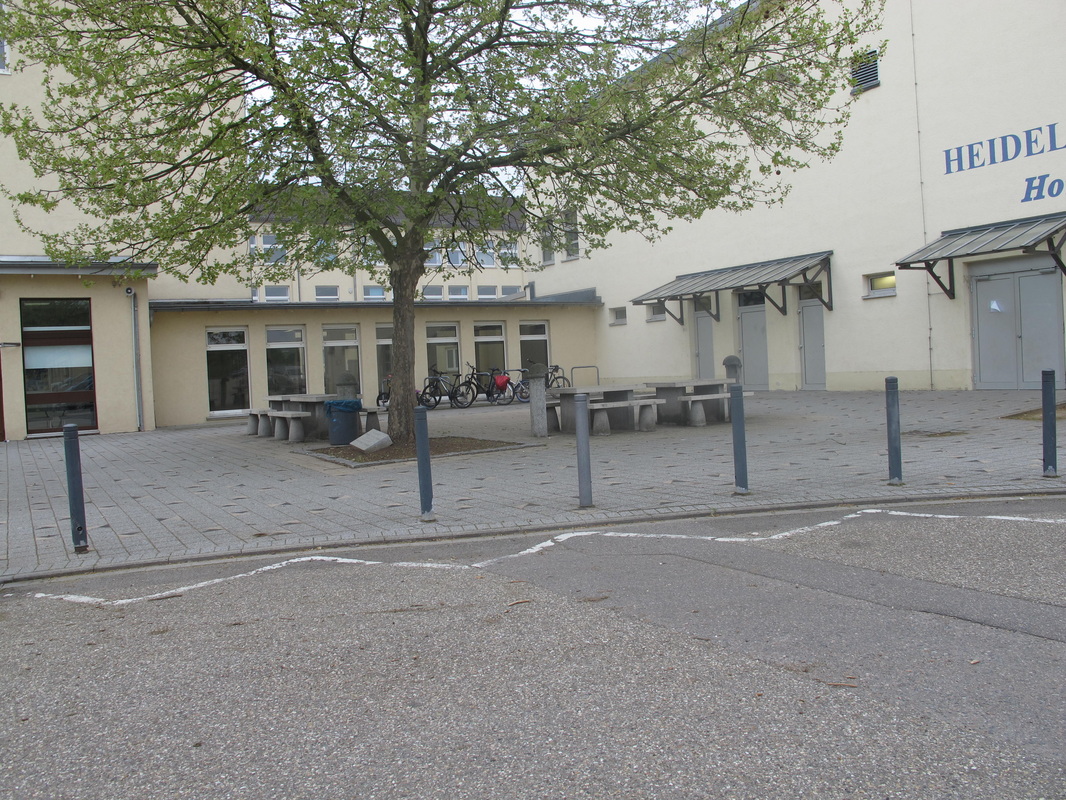
Photomerge Using Photoshop

I took five photographs using a tripod. I made sure that the photographs overlapped. Then I uploded the photos into the Bridge program and then moved them into photoshop using the photomerge option. The photoshop program will merge your photos together. I chose the collague layout for my panoramic. I also used the free transform tool and the crop tool in photoshop to create my final product.
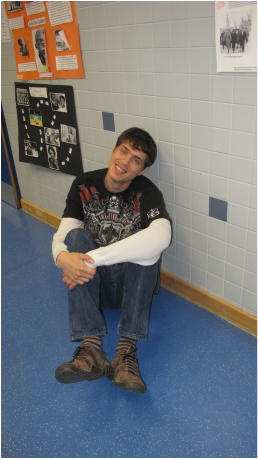
Motion Photographs
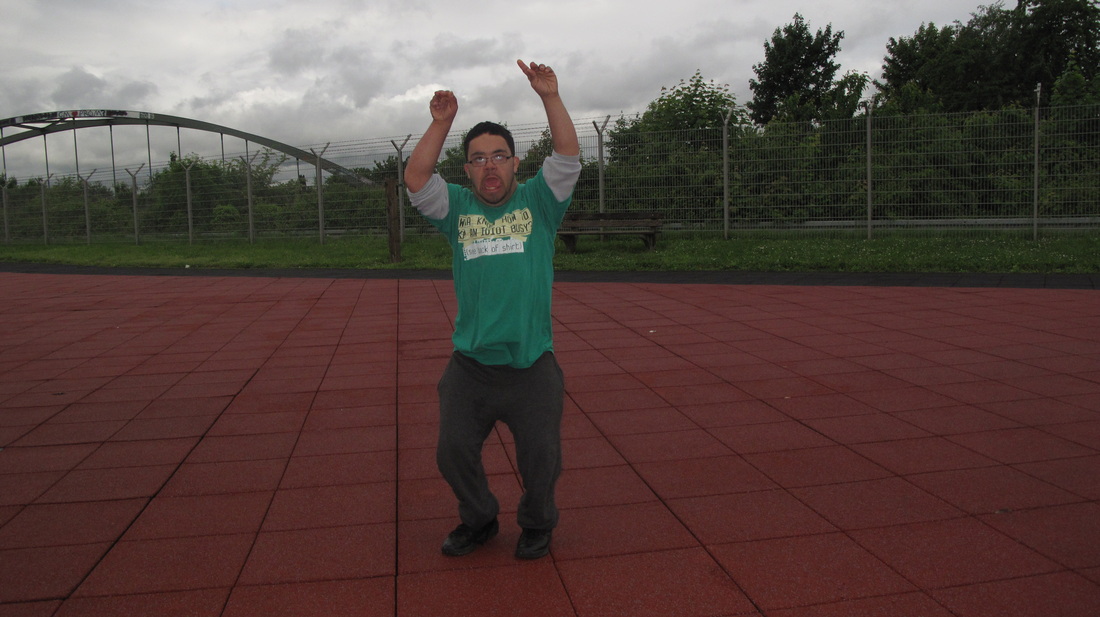
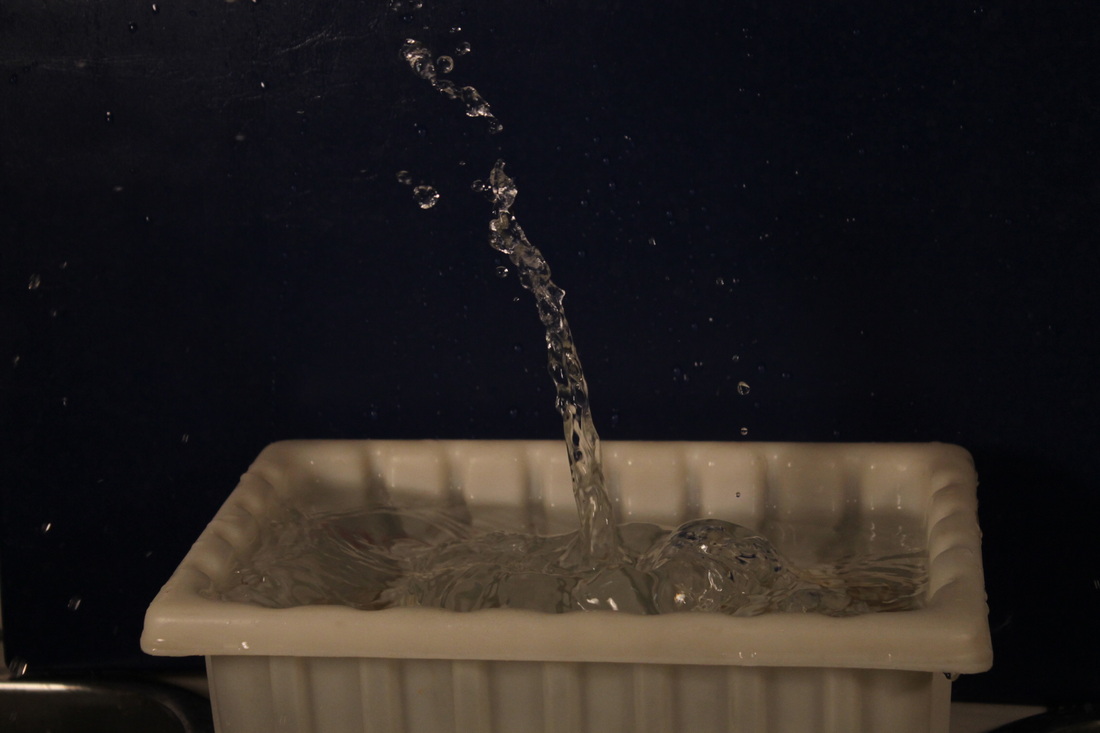
To capture this photo I used the shutter speed priority setting on the camera at 1/500. It captured the subject in motion without blurring the photo because the shutter was only open for a short period of time.
|
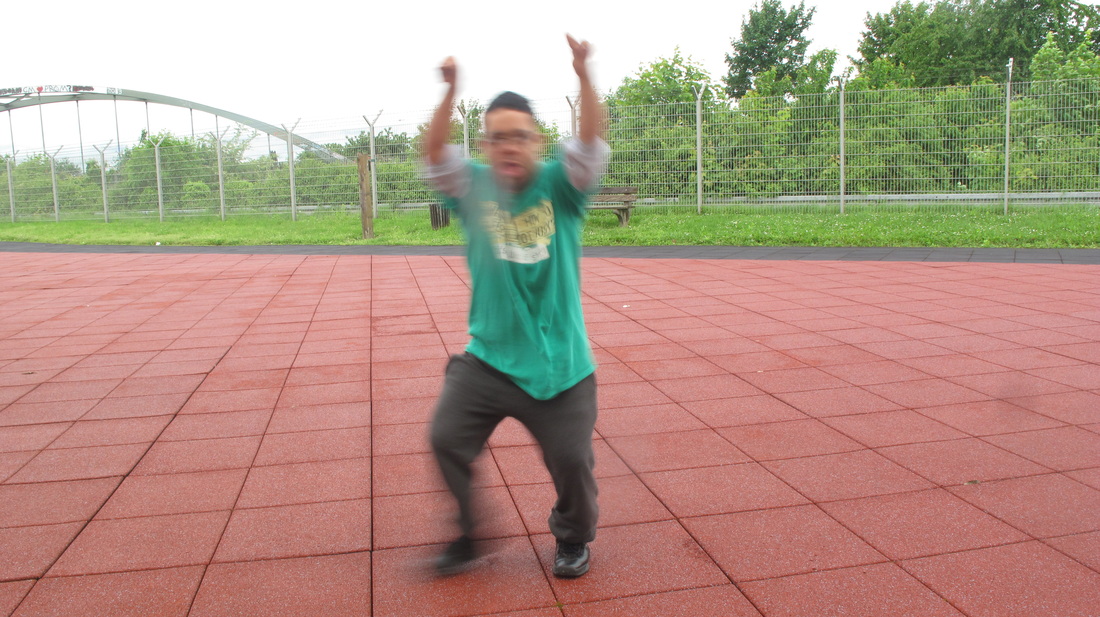
To capture this photo I used the shutter speed priority setting on the camera at 1/4. It captured the subject in motion but the subject was blurry. The subject appears blurry because the shutter was open longer which captured a longer period of motion.
|
Polaroid Effect
To create the polaroid effect I selected a small box and created a larger box around it to create what looks like a polaroid. Then I rotated the boxes to change the placement of the polaroid. Then I copied the layer and used free transform to move the next polaroid around the image. I created as many polaroids as I wanted for the photo.
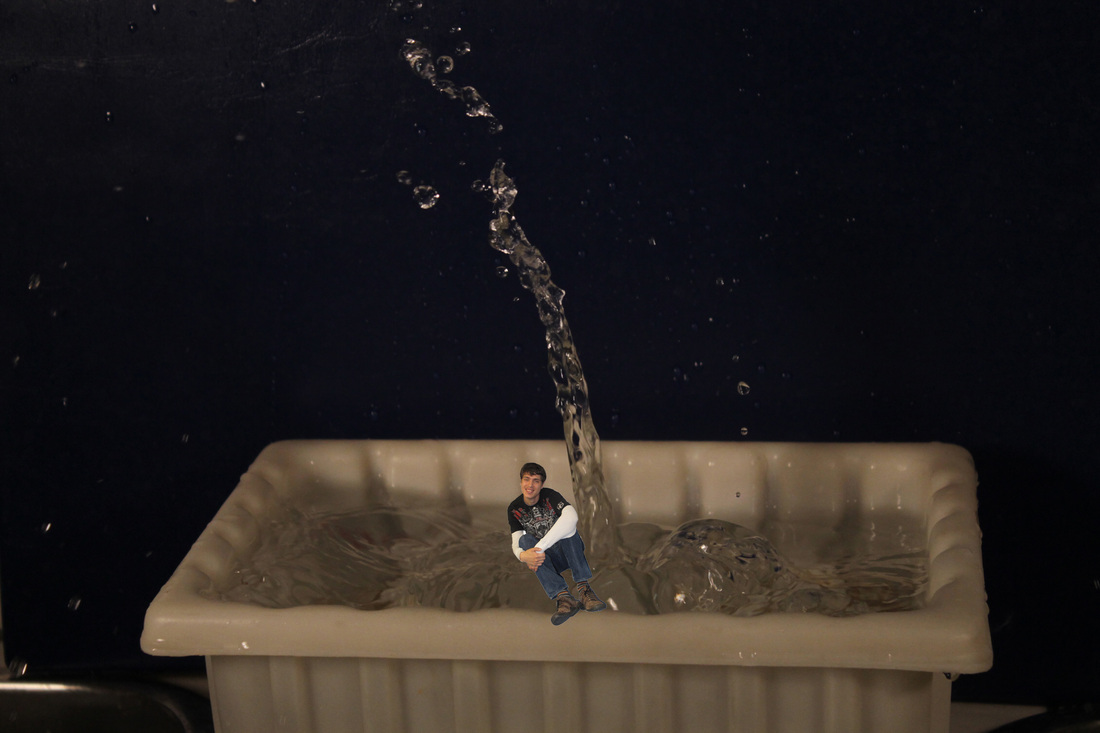
Dead Zone Blur Effect

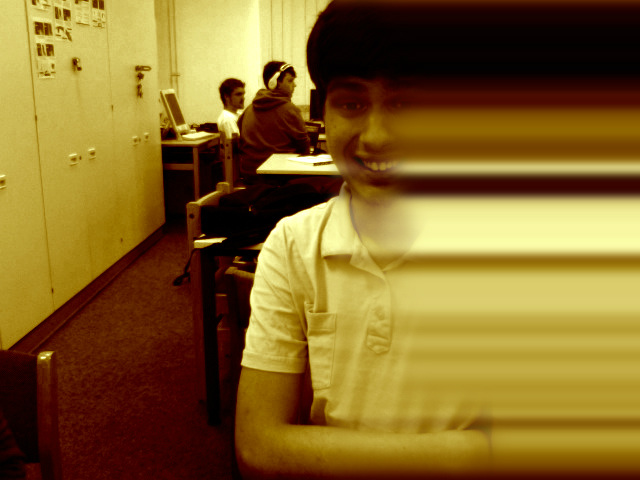
To create this effect I used I used the layers to duplicate the background image. Then I desaturated the photo which took out the colors and made it black and white. Then I changed the color balance so that it had sepia tone effect. Then I used the single column select tool to cut the photo in half. I used the free transform tool on the right hand side of the photo to stretch the pixels. Then I used the brush tool to blur the edge of where I started to stretch the pixels. This is the final product.
High Speed Photography
|
|
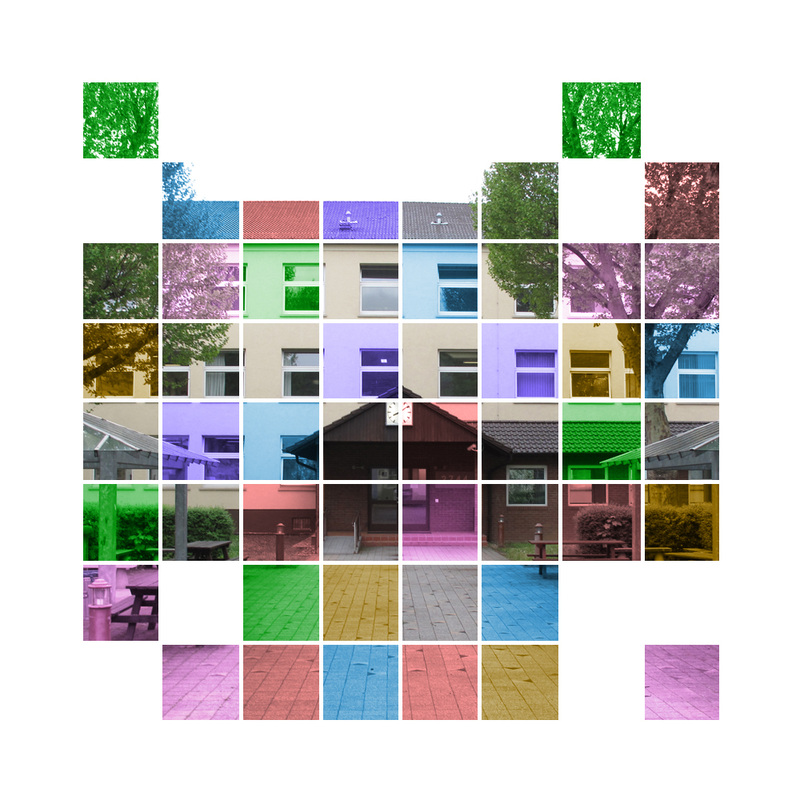
Color Grid
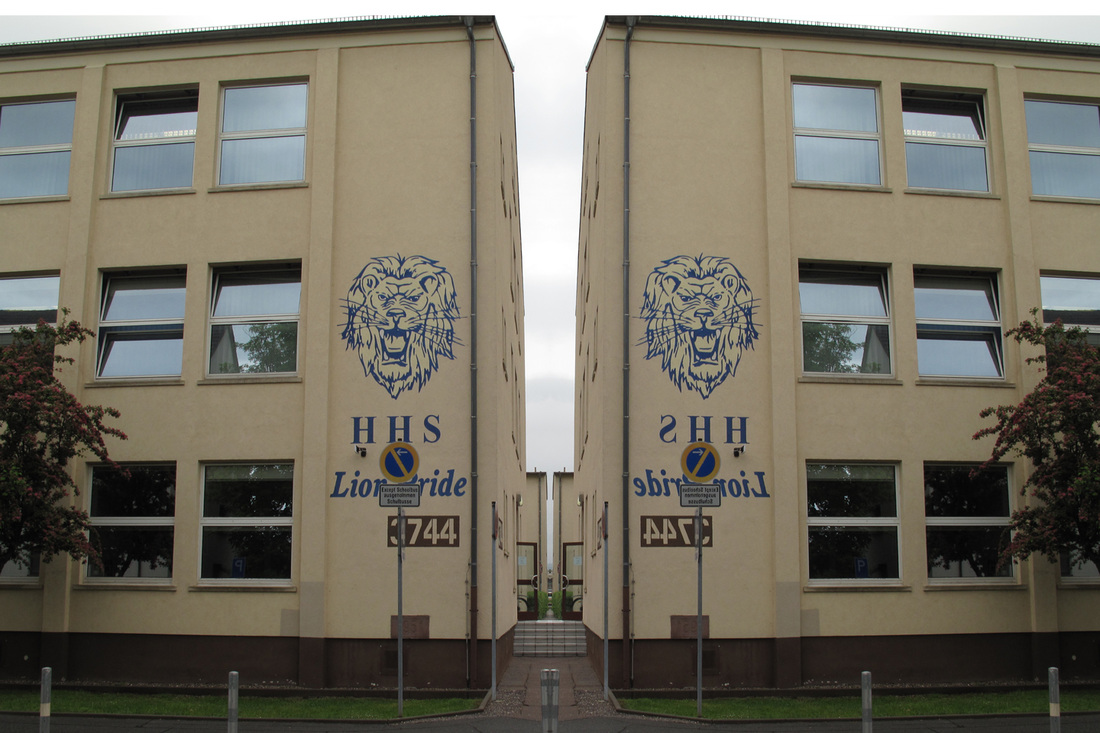
Mirror Image